
Paying for an order online is an integral part of an online store. Having a bank card or an electronic wallet, the client can make a purchase at any time convenient for him, and the payment itself will occur almost instantly. This can be done by introducing various payment systems to the site. What are they doing? They allow you to accept payments from the site to your card, phone or electronic wallet, while you pay a commission (each system has its own conditions).
Whatever payment system you choose, the connection process will be the same:
- Registration of a store on the website of the payment system (if necessary, conclusion of an agreement).
- Obtaining keys for integrating the system into the site.
- Installing and configuring the module on your site (or self-embedding the code on the checkout page).
- Set up a response from the payment system (optional step).
You can connect several payment systems and go through all these steps with each of them, or enter into an agreement with some aggregator service that will contain all these methods (for example, Wayforpay).
In Ukraine, the LiqPay system is the most popular, let's take a closer look at the process of connecting it.
-
Store registration
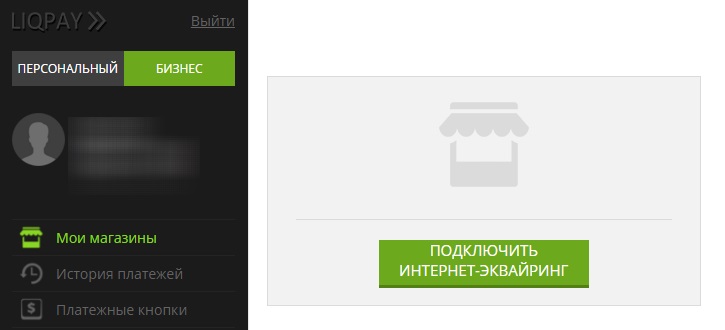
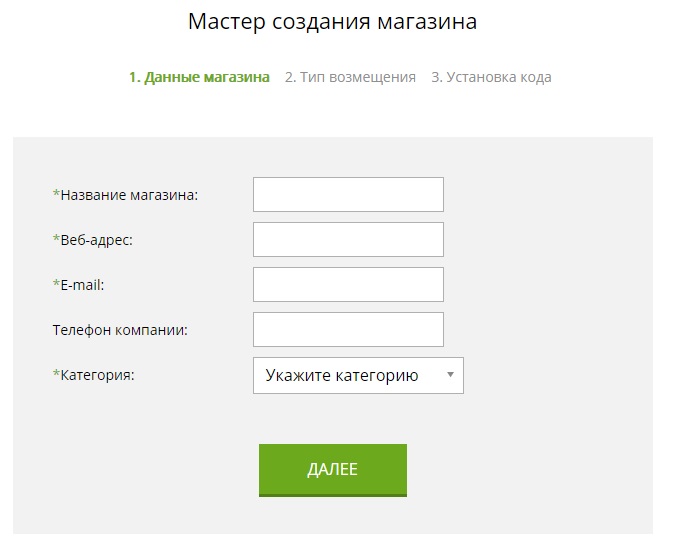
We go through the registration process on the site liqpay.com: in the “Business” section, click the “Connect Internet Acquiring” button, where, using the wizard, fill in all the required fields and choose where the money will be credited:
-
Obtaining Integration Keys
After successful registration, the Wizard opens a page with the settings we need, and also offers to download plugins for popular CMS:
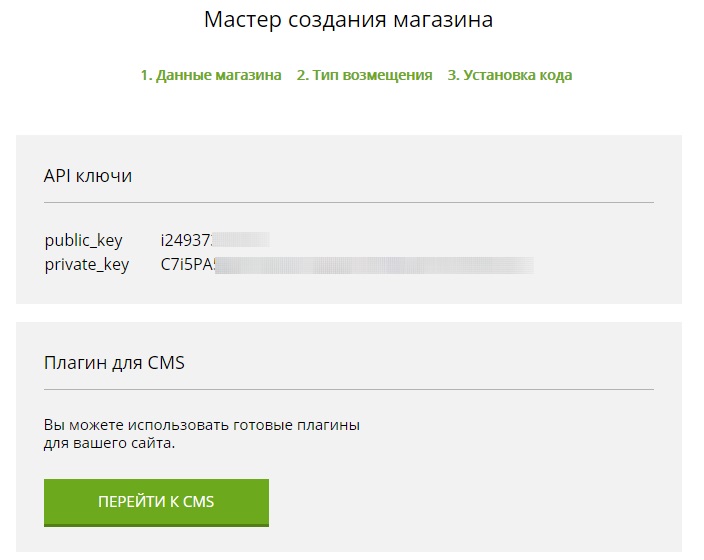
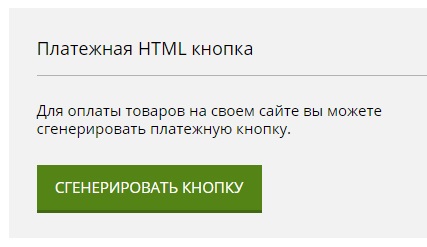
At this stage, instead of further steps, you can generate a payment form with just a click of a button and then simply paste the resulting code on the site:
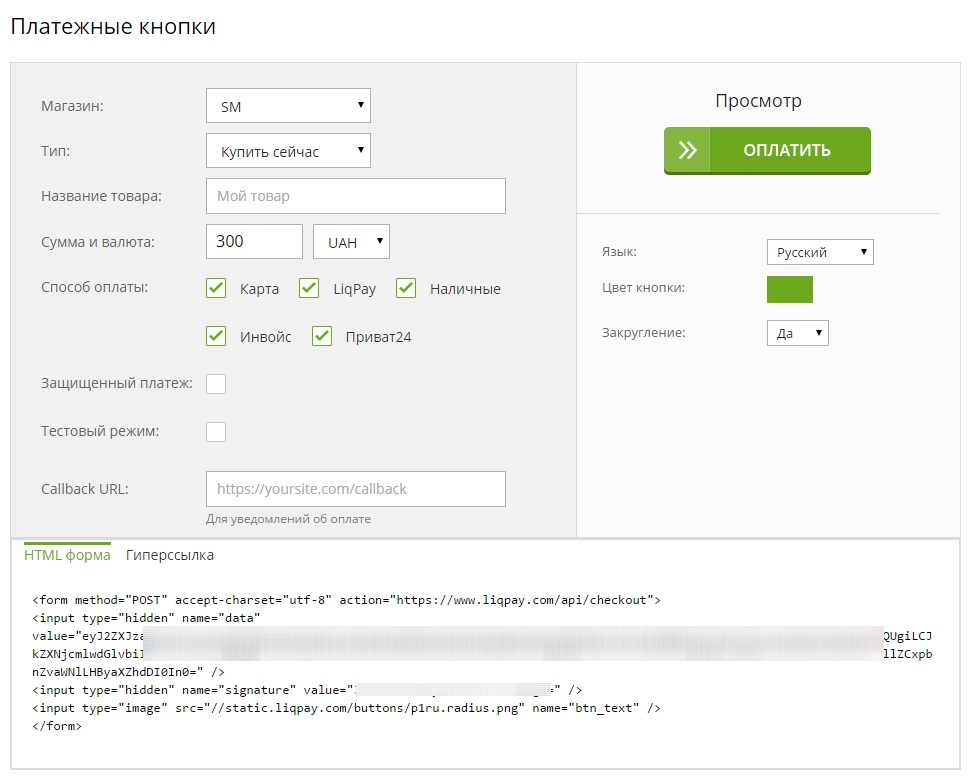
But we are not looking for easy ways, especially since there are usually more than 1 product in the store and they have different prices, so we copy the values public_key And private_key and move on to the next step.
-
Module installation / code injection
The most important step is the actual integration of the payment system. If your site is based on one of the popular engines (Opencart, Prestashop, Bitrix, ShopScript, etc.), then you simply install the module and enter the previously saved keys there:

If there is no module suitable for your site, then you need to configure the submission form yourself according to instructions, of course, here you can not do without the help of a programmer. Your form should look like the one in the example:
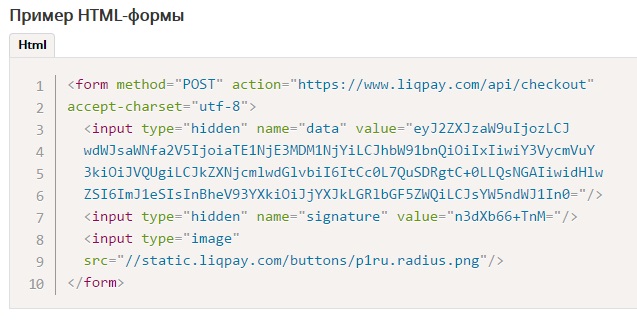
According to the instructions, the HTML form must be sent using the POST method to the URL https://www.liqpay.com/api/checkout with two parameters data And signature, Where:
data - result of base64_encode( $json_string ) function
signature — result of base64_encode( sha1( $private_key . $data . $private_key ) ) function
Examples of code implementation in various languages can also be found on the page references.
As a result, the coveted purchase button appears on the site, which will redirect the client to the LiqPay page, where he can pay for the goods. After payment, the client returns to the page specified in the parameter result_url.
-
Payment system response
This step is optional, but it will allow you to receive payment statuses, which is important. To do this, in the previous step, you must pass the parameter server_url — after changing the payment status, a POST request will be sent to this address with two parameters data and signature . Next, you need to decode the data, which will contain the payment status. Code examples can also be found in help. It is worth noting that if you installed the module in the third step, then everything will work automatically.
That's all the basic steps to implement payment systems on the site. Of course, each has its own subtleties and set of settings, but the connection principle remains the same. If you have any questions or difficulties in setting up, our specialists will always be happy to help =)
Author: Tech Lead of the WEB-development department of the StarMarketing strategic Internet marketing agency Yulia Tkachuk