Snip.ly is a great service that allows you to create your own call-to-action on absolutely any page you share. This will drive visitors to your site through every link you share.
Below you can see what a button attached to the page looks like, which takes the user directly to your site.

How does it work?
Snip.ly generates unique links that you can post wherever you like. Any user clicking on the link will see your call to action on the page. Let's say in your blog you give a link to some material on someone else's site. A person goes to someone else's site in order to get acquainted with the material and sees a pop-up window with text and a link in the lower left corner. You can edit the text and link as you like.
Here example how this thing works. Proper use of the service will allow you to attract new users to your site.
You can easily share a fresh article from someone else's blog and redirect the user to a similar article in yours. This will show the reader two resources at once.
The service is also shareware. But he also has paid packages:

A painful limitation in the free version is that only 1000 clicks on your snip are available to you per month. After the number of clicks exceeds this mark, the call to action will stop working until the deadline is updated.
First you need to register. This can be done via facebook, twitter or e-mail. After registration, click the Create My First Snip button.

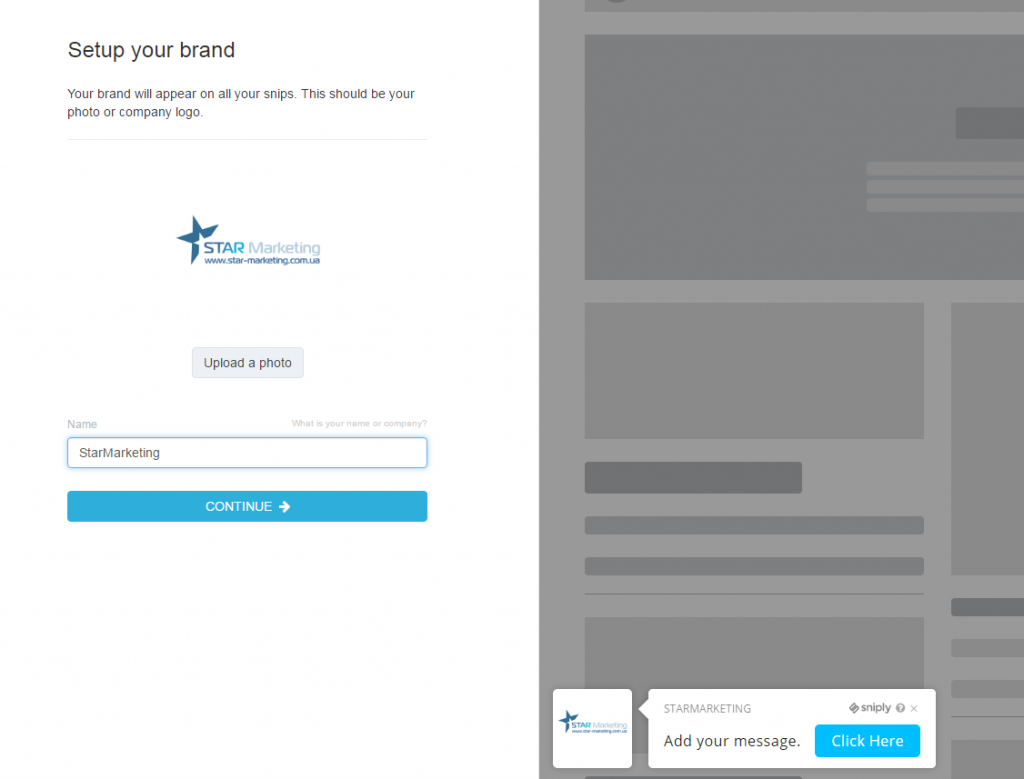
Then, click the Upload a photo button to upload an image for your call and write the name of the brand (company).

Click the continue button to move on to the fun part - creating our CTA (call-to-action).
In the Message field, enter a short sentence that should interest readers.
Button text is the call-to-action text on your button.
Button URL - the page to which you want to redirect users.

And finally, add a link to the page of a third-party resource, let, for example, it will be Wikipedia.

Ready! The link below is your snip.

You can use either built-in analytics or any other web analytics system integrated with your site, because the service automatically affixes UTM tags to each link
You can change these tags in the Account - UTM Tags section in the control panel.
The author of the article is SMM-specialist of the strategic Internet marketing agency — Kirilenko Vadim (facebook)


